
If you’ve ever typed “Surya Namaskar for beginners online” into YouTube at 6 a.m., half-awake, mat still rolled up under your arm — you already know how this goes. A video starts playing, twelve poses fly by faster than you can process, and you just… copy along. It feels like yoga. It looks like yoga. You move on with your day.
Here’s the part nobody warns you about: a lot of people who think they’ve “got” Surya Namaskar have actually been doing a slightly off version of it for months, sometimes years, without realizing it. No one’s around to tell them, because no one’s watching. The poses hold up fine from the outside. It’s the breath that quietly goes sideways.
This piece walks through what the sequence is actually built to do, all twelve poses with the breath cue and the one mistake that tends to sneak in at each step, and a 21-day plan that’s realistic enough to actually stick with.
Why most people who “know” Surya Namaskar are only approximating it
Surya Namaskar isn’t twelve poses. It’s twelve poses held together by breath — and that difference matters more than it sounds like it should.
Most self-taught practitioners nail the shapes. The forward fold looks right. The plank holds. Cobra arches where it’s supposed to. But the breathing underneath all of it is often random — held without noticing, or synced to the wrong movement entirely. From a mirror, it looks identical to correct practice. Internally, it’s a completely different experience.
That’s the whole reason someone can practice daily for six months and still feel winded and stiff at the end of it, while someone else doing half as many rounds — but breathing correctly — finishes warm, steady, and calm. It was never about effort. It’s a technique gap that nobody happened to catch.
If nobody’s ever watched you move through a round and said “breathe here, not there,” it’s worth assuming there’s a mismatch somewhere, even if everything looks fine on the surface.
What the sequence actually is and what makes it complete
Surya Namaskar, or Sun Salutation, is a flowing set of twelve postures performed as one continuous movement, timed to your inhale and exhale. It takes the spine through its full range — bending back, folding forward, coming back to neutral — while the breath moves in a pattern that echoes how you’d naturally breathe anyway, just made deliberate.
What makes it “complete” is that it does three things most workouts keep separate:
- Builds strength and flexibility through the poses themselves
- Works the cardiovascular system through pace and repetition
- Trains breath awareness through the inhale-exhale rhythm
It’s also why this sequence works so well as a bridge into pranayama — once breath and movement are coordinated here, breath-control work on its own gets a lot easier to pick up.
The 12 poses — each with a breathing cue and the one mistake to avoid
Here’s the honest breakdown, pose by pose.
1. Pranamasana (Prayer Pose) — normal, relaxed exhale. The mistake here isn’t physical — it’s rushing through it instead of using it to actually settle your breath before you start.
2. Hasta Uttanasana (Raised Arms Pose) — inhale. People tend to arch only the upper back instead of lengthening the whole spine.
3. Hastapadasana (Standing Forward Bend) — full exhale. The classic mistake is bending the knees to force your hands to the floor, which just strains the lower back for no reason.
4. Ashwa Sanchalanasana (Equestrian Pose) — inhale. Watch the front knee — letting it drift past the toes puts real stress on the joint.
5. Dandasana (Plank Pose) — inhale, brief hold. Hips drop here more often than people realize, breaking the straight line the pose is meant to hold.
6. Ashtanga Namaskara (Eight-Limbed Pose) — exhale. The whole body tends to collapse down at once instead of lowering with control through the elbows.
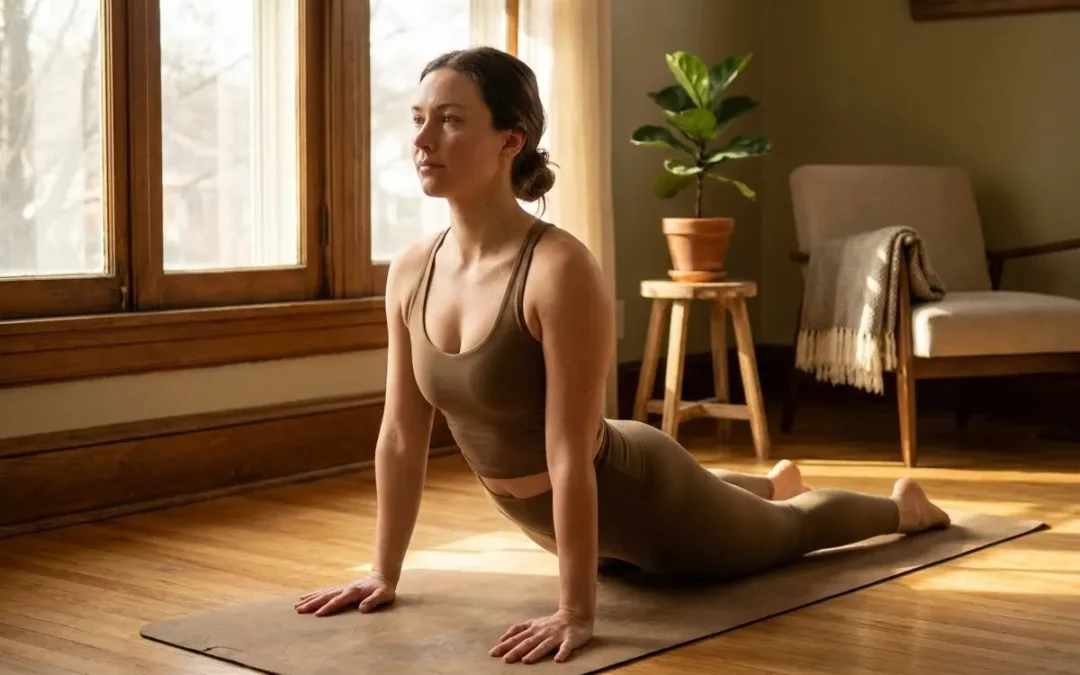
7. Bhujangasana (Cobra Pose) — inhale. Most beginners use their arms to force the backbend instead of letting the back muscles do the work first.
8. Adho Mukha Svanasana (Downward Dog) — exhale. Forcing the heels flat to the floor often flattens the spine’s natural line in the process — better to keep the spine long and let the heels lift slightly if needed.
9. Ashwa Sanchalanasana (opposite leg) — inhale. This transition gets rushed, and balance goes with it.
10. Hastapadasana — exhale. Same issue as pose 3 — bent knees instead of hinging from the hips.
11. Hasta Uttanasana — inhale. Forgetting to look slightly upward here flattens out the stretch.
12. Pranamasana — exhale, back to stillness. The mistake is moving straight into the next round without pausing long enough to actually notice your breath.
One thing that helps early on: practice just the breath pattern on its own first, no poses at all, until inhale-exhale-inhale flows without you thinking about it. Then bring the movement back in on top of that rhythm.
A 21-day plan: week by week, round by round
Consistency beats intensity here, by a wide margin. This plan is built to establish the habit before fatigue has a chance to derail it.
| Week | Rounds per day | Focus |
| Week 1 (Days 1–7) | 3 rounds | Learning the shapes, no rush |
| Week 2 (Days 8–14) | 6 rounds | Adding breath coordination |
| Week 3 (Days 15–21) | 9–12 rounds | Building pace and stamina |
By day 21, the real shift isn’t just doing more rounds — it’s that the breath is moving through the whole sequence on its own, without you consciously managing it. That’s the actual marker that something’s clicked.
This same slow-build structure is also what makes Surya Namaskar genuinely effective as weight loss yoga — the cardiovascular payoff comes from sustained, properly-paced rounds, not from cramming in as many as possible as fast as possible.
Why YouTube videos plateau beginners and guided learning doesn’t
A video can show you what a pose is supposed to look like. What it can’t do is notice your knee sliding past your toes in pose four, or catch that you’ve been holding your breath through plank for the last three rounds, or point out that your forward fold is coming from your lower back instead of your hips.
That’s usually why self-taught practitioners hit a wall around week three or four — the body’s already learned a pattern by then, and without any correction, that pattern just gets reinforced instead of refined. Guided Surya Namaskar online works differently for exactly this reason: someone’s actually watching the breath-movement connection as it happens, catching the small stuff before it turns into a habit that’s much harder to undo later.
That correction matters even more if you’re managing a health condition alongside your practice. PCOS yoga sequences, for example, often need adjusted pacing and hold times — something a generic video was never built to account for.
How to know when you’re doing it right
A quick self-check, no mirror needed:
- Your breath naturally gets longer as you move — you’re not gasping by round three
- Right after finishing, you can hold a normal conversation-pace breath instead of panting
- Your wrists, knees, and lower back feel worked, not strained
- The transitions feel like one continuous movement, not twelve separate stops
- You end up calmer than when you started, not more wound up
If two or more of these don’t match how your practice actually feels, it’s probably worth having someone watch you move through a round in person.
Surya Namaskar rewards patience over intensity, every time. Twenty-one days of three-to-twelve correctly-breathed rounds will do more for your body than months of rushed, breath-mismatched practice ever could.
If you’d rather skip the guesswork and get the corrections early, our Surya Namaskar programme walks through exactly this — pose by pose, breath by breath — with a 7-day free trial so you can feel the difference for yourself before committing to anything.
Frequently Asked Questions
1. How long does it take to learn Surya Namaskar properly?
Most people pick up the shapes within a week. Breath coordination — the part that actually makes the practice work — usually takes another 2 to 3 weeks of steady practice on top of that.
2. How many rounds of Surya Namaskar should a beginner do?
Start small — 3 rounds a day in week one — and build gradually to 9–12 by week three. Jumping straight into high repetitions before your breath is coordinated tends to just cause fatigue, not fitness.
3. Can Surya Namaskar help with weight loss?
It can, yes. Practiced at a steady, breath-coordinated pace for 9–12 rounds a day, it functions as a genuine cardiovascular and strength workout, which supports weight loss over time.
4. Is it okay to learn Surya Namaskar from YouTube videos?
As a starting point, sure. Where videos fall short is correcting breath timing or alignment issues in real time — which is exactly why so many self-taught practitioners plateau after the first month or so.
5. Is Surya Namaskar safe during PCOS or hormonal imbalances?
Generally, yes. Pacing and a few pose modifications tend to matter more here, though — it’s worth practicing under guidance that actually accounts for your specific condition rather than following a one-size-fits-all sequence.